5 Headerless Setup
This chapter guide to setup and bringup new raspberry pi with raspberry pi os (bulleseye).
5.1 Requirements
- Laptop/Desktop with sudo permission with Ubuntu 18 and above with 8 GB SSD/HDD and 4 GB RAM
- Min 8 GB SD Card
- SD card reader
- USB to UART Cable
- Raspberry PI
- Raspberry PI Power Adapter
- Image flashing tool(etcher APPIMAGE). download from link
- gparted tool to create sd card partation.
5.2 Get Raspberry pi OS
Download raspberry pi os from link.
5.3 Prepare SD Card
5.3.1 using balenaEtcher
Insert SD Card on laptop
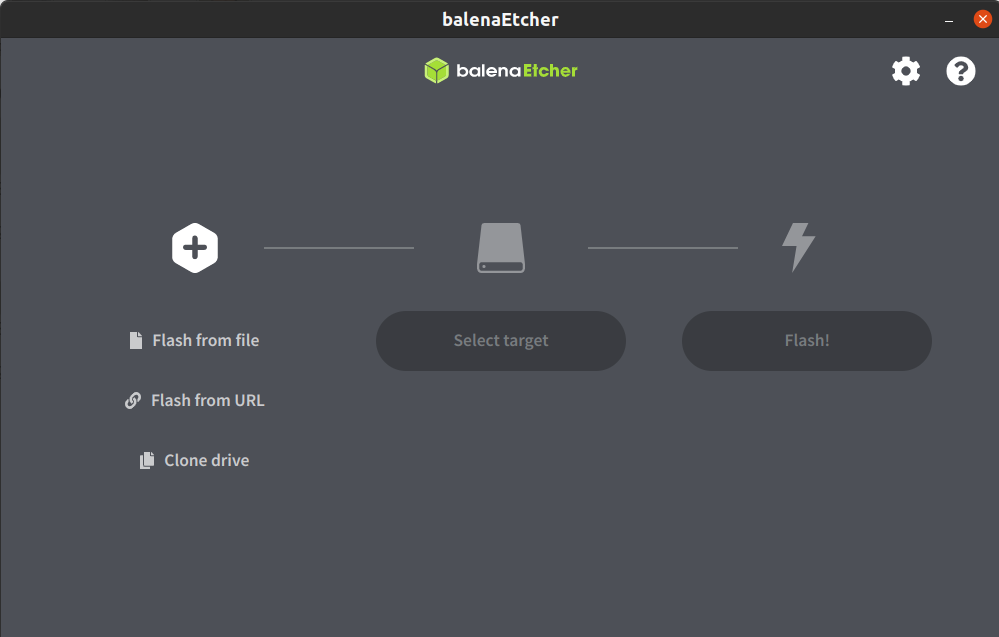
Run etcher for flashing image.
 chmod +x balenaEtcher-<version>-<arch>.AppImage
 ./balenaEtcher-<version>-<arch>.AppImage
it will show popup
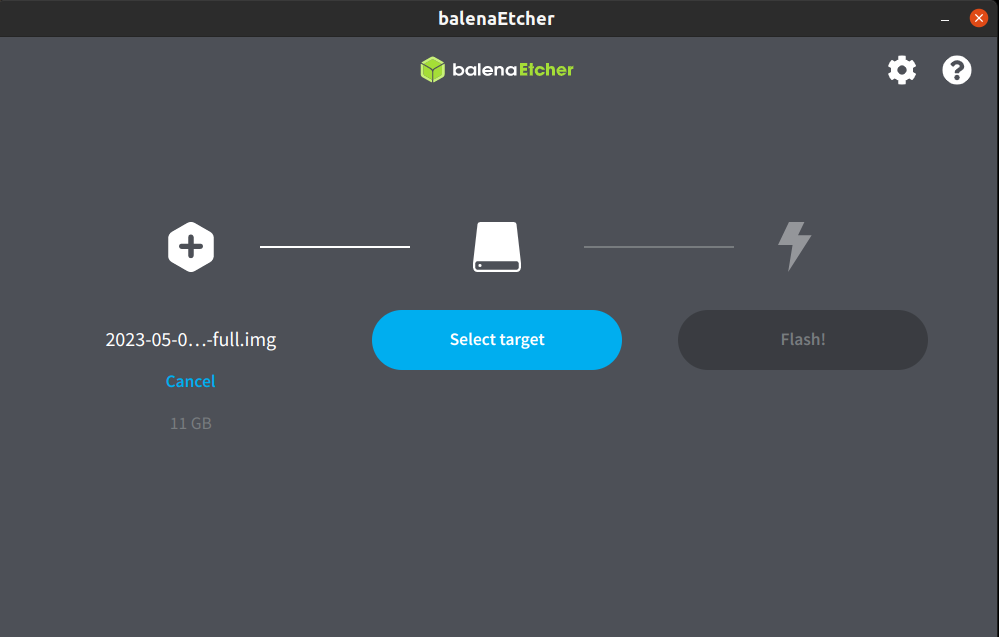
Click On Flash from file, now select image file and click on Open
Now Select Target
5.3.2 Using dd command (only for linux)
find the SD card device interface using
df -h
it will show list of mounted memory devices
TODO Attach pic
sudo dd if=<raspberry-pi.iso> of=<sd-dev-interface> bs=1M; sync
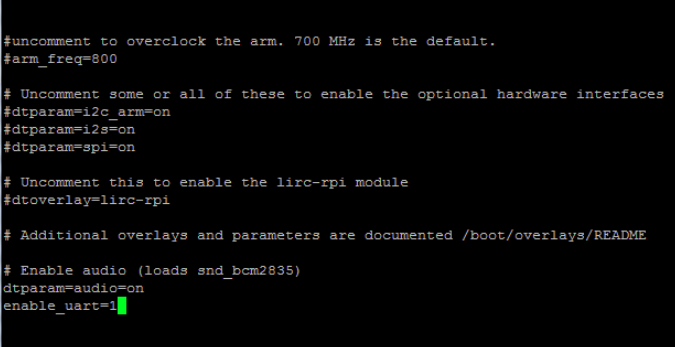
5.4 Enable Serial Console
To enable serial console, you need to add configuration in config.txt file located in boot partation(first partation).
$ vim /boot/config.txt
At the bottom, last line, add enable_uart=1
5.5 Enable Ethernet HotPlug
To enable serial console, you need to enable ethernet hotplug to access your device over network.
$ vim /etc/network/interfaces
and add following contents
And add following

auto lo
iface lo inet loopback

allow-hotplug eth0
iface eth0 inet dhcp
5.6 Enable SSH
Older Version of Raspberry pi os
For headless setup, SSH can be enabled by placing a file named ssh, without any extension, onto the boot partition of the SD Card. When the Raspberry Pi boots, it looks for the ssh file. If it is found, SSH is enabled and the file is deleted. The content of the file does not matter; it could contain text, or nothing at all.
Raspberry Pi OS Bullseye
Bydefault Bullseye does not have any user so we need to add user before configuring ssh. to add user, write below content in /boot/userconf.txt
pi:$6$c70VpvPsVNCG0YR5$l5vWWLsLko9Kj65gcQ8qvMkuOoRkEagI90qi3F/Y7rm8eNYZHW8CY6BOIKwMH7a3YYzZYL90zf304cAHLFaZE0
user will be created on very first bootup bootup. with credential
username: pi
password: raspberry
now ssh can be enabled by placing a file named ssh, without any extension, onto the boot partition of the SD Card. When the Raspberry Pi boots, it looks for the ssh file. If it is found, SSH is enabled and the file is deleted. The content of the file does not matter; it could contain text, or nothing at all.
Enable wifi
To enable wifi and auto connect with your AP. Create a file wpa_supplicant.conf in /boot partition of SD card and write following content
ctrl_interface=DIR=/var/run/wpa_supplicant GROUP=netdev
update_config=1
country=<Country-Code>

network={
	ssid="<SSID>"
	scan_ssid=1
	psk="<PASSWORD>"
}
NOTE: update
Set static ip
Add following content to file /etc/dhcpcd.conf
interface wlan0
static ip_address=192.168.1.128/24
static routers=192.168.1.1
static domain_name_servers=8.8.8.8
This page development is in progress
©2023-2024 rculock.com